Wonder how 3D animation production looks like for industrial companies? In this case study, I will show you step-by-step how we produced the high-quality 3D animation for a ship design company and what was the result.
If you need this kind of realistic product video for your own marketing strategy, feel free to contact us.
Check out this project in our portfolio: Naos Ship Design WSM – 3D Ship Animation
The Client and the requirements
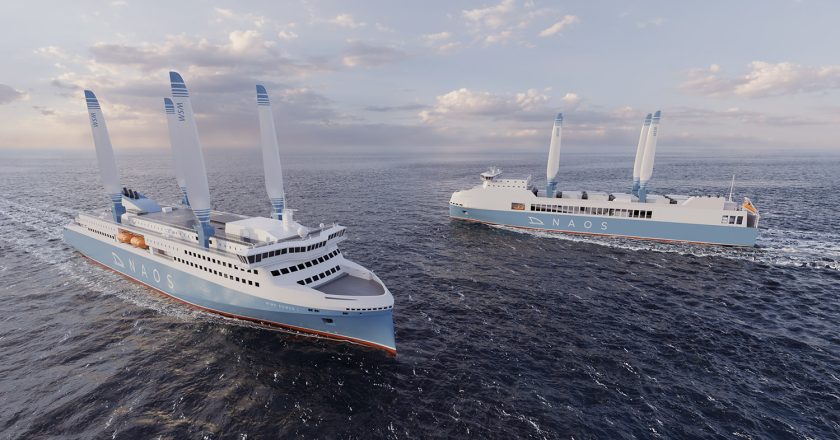
Sodoma Atelier 3D visualization studio was reached by Naos Ship & Boat Design with a request for creating a 3D marine animation showcasing their new innovative product. The company was about to introduce the WEPAS project – sustainable Wing Sail Modules powerful enough to reduce the fuel consumption during a cruise and change the impact of the sea crossing on the environment.
The marketing strategy of promoting this innovation included a photorealistic 3D animation presenting Wing Sails Modules during the operation. And here’s where we came with help.
3D Animation production: the essential steps
Now I will guide you through the journey that our 3D visualization studio took to produce this animation. You will get to know all the particular phases of the production. And at the end of this post, you can watch the complete video.
Pre-production
Right at the beginning of the cooperation, we had an online call with the client. During this conversation, we learned more about the WSM system itself and gathered all the necessary information about how the client would like the animation to look.
Usually, in the first phase of a project, we do background music research to propose the nice tones that fit the overall vision of ours and our client. But this time we were provided with the piece of music that the client has chosen earlier.
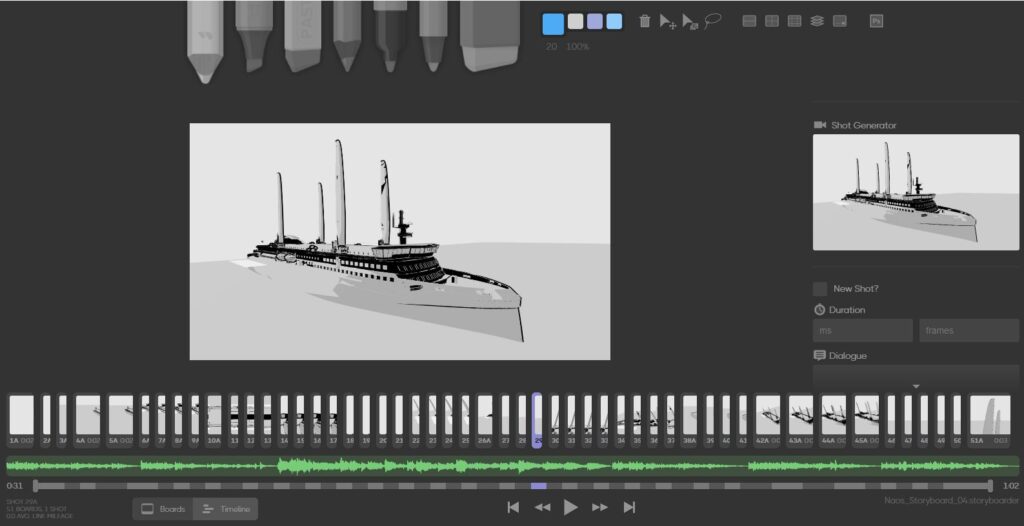
In the first revision, we presented the storyboard which is a collection of sketchy images sorted chronologically that showcases the particular scenes from the animation. The sequence of sketches is combined into a video and accompanied by the music.
In this step, we can see the very basic draft of the animation. Yet, we get the distant look of the whole piece are we’re able to decide about how the scenes should look like.
3D modeling and texturing
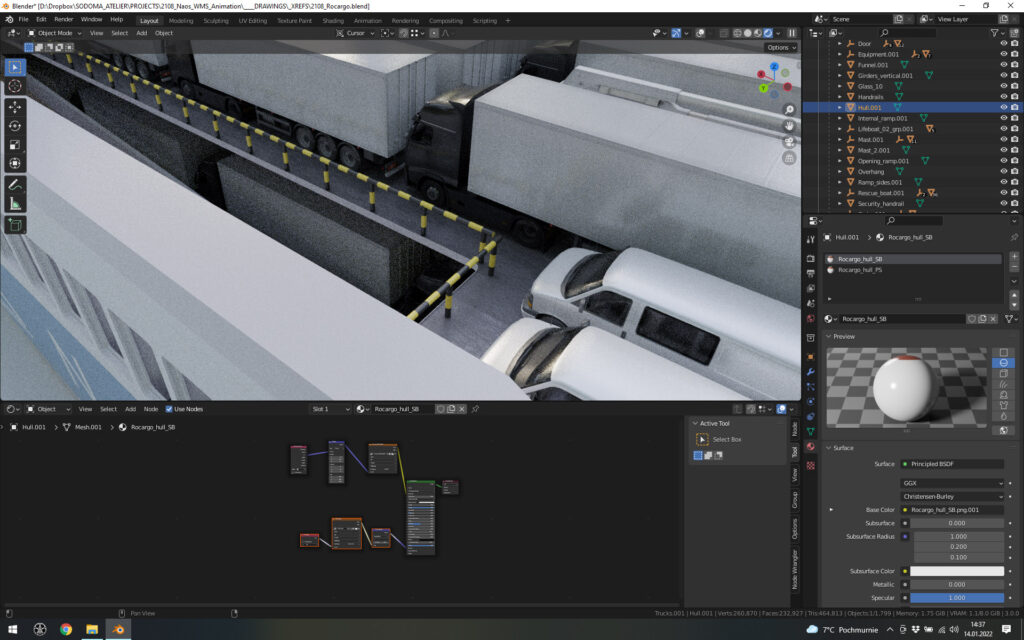
While the animation starts getting the structure in the storyboard, we already work on optimizing the 3D models and preparing them to star in a movie.
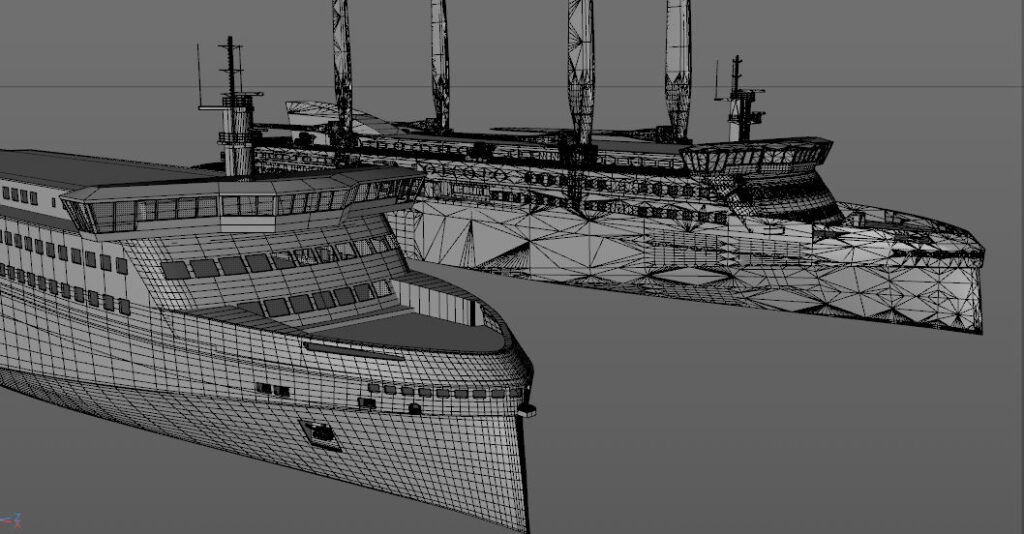
The 3D models that we usually receive from the clients are very accurate from the engineering point of view. But they’re often too meshy and heavy for animation purposes.
To save time on the final rendering, and to keep the project clean and well-organized, we often have to remodel the whole ship. After doing so, we add some props. In this case: deck furniture, solar panels, mast equipment, outfitting elements, and cars transferred on the rocargo ferry.
Eventually, we add the high-quality textures that add value to the realism of the animation: the seams on the steel plates, the subtle scratches on the deck, all the little details that we see in the real life.
Fluids & dynamics
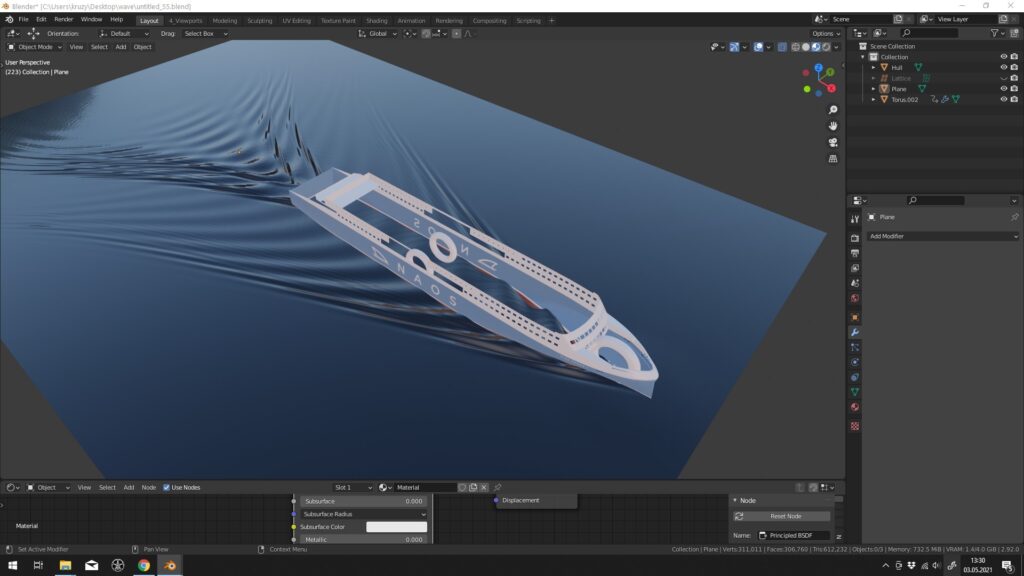
Creating reliable wave motion in 3D animation requires a lot of skill and some tricks in additional software. In Sodoma Atelier, we constantly develop our possibilities of creating the wake and wave that mirror the engineering simulations.
The final effect in the video is achieved by combining the real-time fluid simulations, and the specific combination of 2D texture maps and water material optimization.
Animatic
Once the client approves the storyboard and 3D models, we continue to the next phase which is the creation of an animatic. The animatic is a draft version of the final animation. Yet it doesn’t contain any materials, textures, environment details, and lightning. But it showcases the final positioning of the models in the scenes.
The aim of the animatic is the approval of the camera positions, the right angles, final frames, and the movements of all the objects involved in the scene. And getting it all mixed with the music. We can call it a clay version of the animation.
Style frames
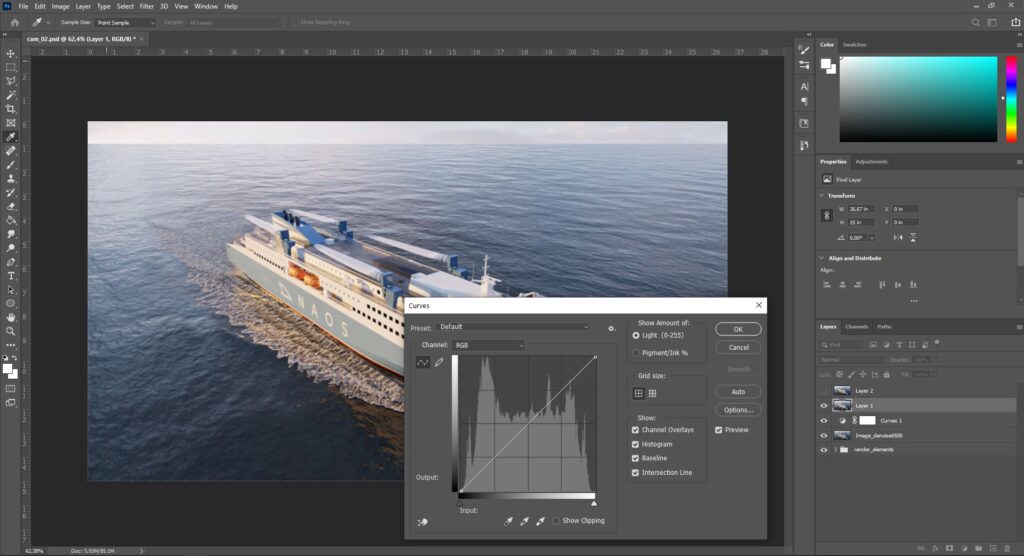
The next step in our 3D animation case study is creating the style frames. Here we add the light and the realistically looking water to the scene, render visualization previews, and do some post-production. All this is needed for us and the client to check the final look of the video and confirm the overall colors and climate.
Rendering
Now we get to the most time-consuming part of the 3D animation creation. Once we’ve got all the client approvals: for the model, materials, lightning, and animatic, we combine it all together and start to render.
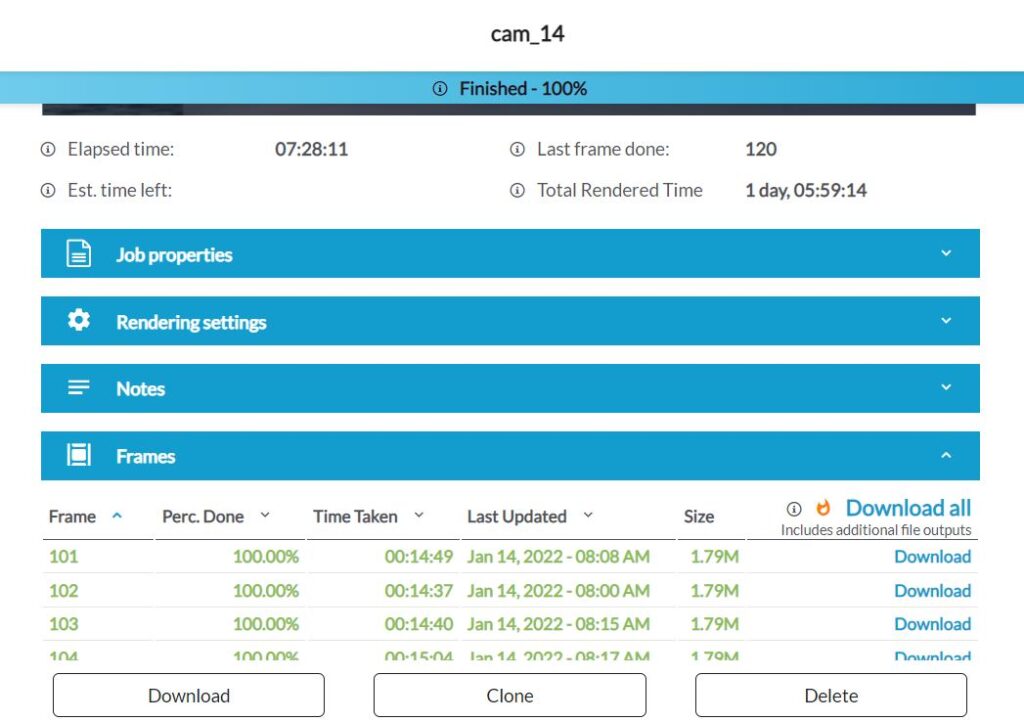
The generation of 3D images takes time and requires high-quality strong and fast hardware. To make the work more time-efficient we use the services of external render farms where the few servers “count” our images at the same time, 24 hours per day.
Let’s do some counting:
- usually, we render 25 frames (single images) to obtain 1 second of the animation
- rendering 1 frame on the render farm, in our projects, takes ~15 minutes
- the animation analyzed in this case study has 1 minute and 2 seconds
25 frames x 15 minutes rendering x 62 seconds of animation = 23 250 minutes of rendering
what gives at least 16,15 full days of non-stop rendering
To this time, of course, we need to add the service time: preparing the scenes, uploading them to the render farm, downloading them, rendering if something went wrong or needs to be updated. To speed up the process, we usually use 6 servers from the render farm at once what helps us save a lot of this time.
Now you can clearly see how much time it takes to only render the animation. Not to mention all the previous and next steps of its production.
Post-production
Once the servers rendered all the single sequences of the animation, it’s time to combine them together and add the post-production.
Besides the music, here we also recruit a professional voiceover artist that reads the text provided by the client. We nicely fit it into the animation and the right places in the music track.
We also add some post-processing effects, like color correction, a mist in the distance, light flares, and so on.
Finally, we insert the client’s logo, and create the animated texts, according to the agreements.
Now we can proudly say that the realistic 3D animation is ready to be published.
The result: photorealistic 3D marine animation
Below you can watch the complete animation. It briefly showcases the main idea behind the Wing Sail Module. And so it became a nice piece of marketing material to promote this concept and generate new contracts for the client.
If you enjoy it, feel free to share it on LinkedIn or any other social media with the buttons below the video. If any of your coworkers or clients need the same kind of industrial 3D animation, send him/her a link to this page.
Use the power of high-quality 3D visualization to spread your brand awareness and share your design ideas with potential customers.

